
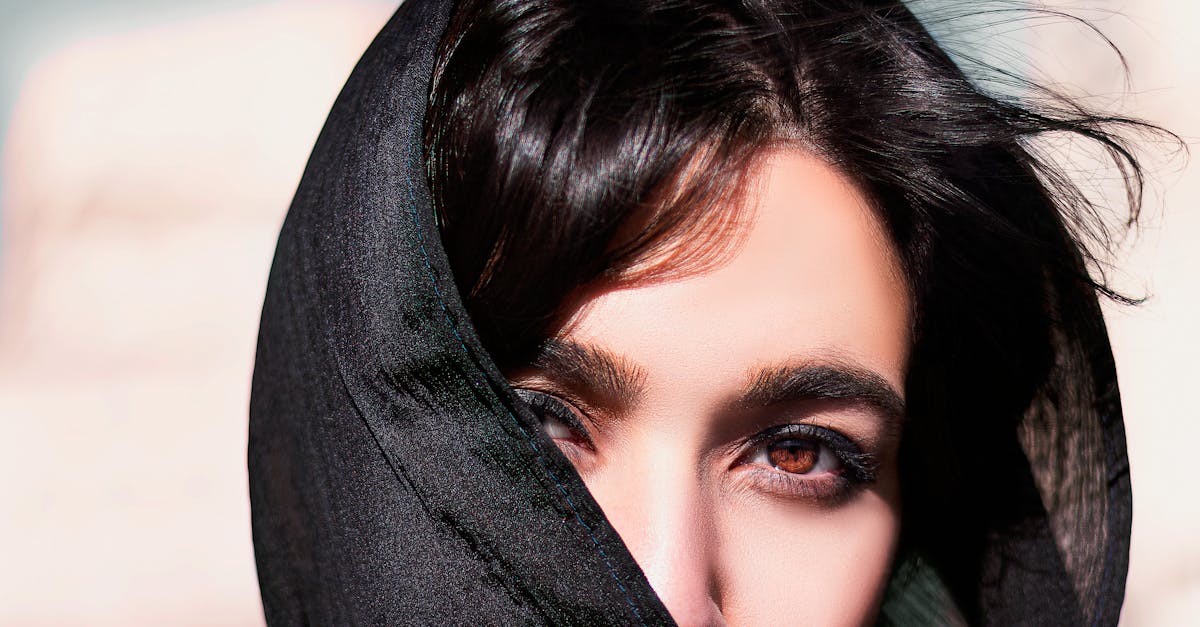
Creating the perfect magazine cover photo requires both artistic vision and technical expertise. It’s an exciting journey that lets photographers embrace their creative side while working within specific design constraints. The key challenge lies in balancing two crucial goals: expressing the magazine’s theme and capturing attention-grabbing imagery.
We’ll show you how to navigate the unique requirements of cover photography, including the critical top-third rule where the magazine’s masthead typically appears. Understanding these technical aspects while maintaining artistic integrity is essential for success in this specialized field. Whether you’re an aspiring photographer or a seasoned professional, mastering magazine cover photography opens up new creative possibilities and career opportunities in both photography and graphic design.
Understanding Magazine Cover Requirements
Magazine cover photography requires specific technical considerations to accommodate design elements. Creating successful cover photos demands a clear understanding of spatial requirements, composition guidelines, and text placement.
Layout and Format Specifications
- Leave ample negative space around the subject for masthead placement
- Position key visual elements in the middle or lower two-thirds of the frame
- Shoot in portrait orientation with a 8.5×11 or similar magazine proportions
- Maintain high resolution (300 DPI minimum) for print quality
- Include bleed area (0.125 to 0.25 inches) beyond intended trim size
- Use proper lighting to create depth without harsh shadows
- Reserve the top third of the image for magazine title placement
- Create clean backgrounds in areas designated for cover lines
- Choose compositions that flow from top to bottom
- Avoid complex patterns or textures in text placement zones
- Position subjects to allow space for cover headlines
- Use balanced framing that accommodates both primary text and secondary elements
| Cover Area | Required Space | Purpose |
|---|---|---|
| Top Third | 25-30% | Masthead placement |
| Middle Third | 40-45% | Main subject focus |
| Bottom Third | 25-30% | Secondary text elements |
Pre-Production Planning
Pre-production planning sets the foundation for how to shoot a magazine cover photo by establishing creative direction and assembling resources. This phase transforms conceptual ideas into actionable steps through mood boarding and team collaboration.
Creating a Mood Board
A mood board organizes visual references for the magazine cover shoot through a collection of inspiring images. Create a secret Pinterest board to pin initial ideas, then refine them by identifying patterns and themes that align with the magazine’s aesthetic. Pinterest’s categorization features enable organization of different elements like:
- Styling references for wardrobe and props
- Lighting setups and techniques
- Makeup and hair inspiration
- Color palettes and textures
- Composition layouts and poses
Assembling Your Creative Team
A skilled creative team ensures each aspect of the magazine cover photo meets professional standards. Key team members include:
- Makeup Artists – Create camera-ready looks
- Hair Stylists – Design editorial-worthy hairstyles
- Wardrobe Stylists – Source and style appropriate clothing
- Photography Assistants – Manage lighting and equipment
- Digital Technicians – Monitor image quality and settings
Connect with potential team members through:
- Professional Facebook groups
- Instagram networking
- Agency websites
- Industry referrals
- Local photography communities
Share the mood board with team members to align everyone’s vision and ensure consistent creative direction. Establish clear communication channels and define each member’s responsibilities before the shoot date.
Technical Setup
Professional magazine cover photography demands precise technical configurations to achieve studio-quality results. The combination of proper lighting setup camera settings creates the foundation for a successful cover shoot.
Lighting Requirements
Studio lighting for magazine covers requires a three-point lighting system with specific positioning:
- Main light: Position a large softbox at 45 degrees to illuminate the subject’s face
- Fill light: Place a medium softbox opposite the main light to soften shadows
- Hair light: Mount a strip box or beauty dish above the subject for separation
- Background lights: Set two rim lights to create depth separation between subject background
Key lighting ratios:
| Light Source | Power Ratio |
|---|---|
| Main Light | 100% |
| Fill Light | 50-75% |
| Hair Light | 25-50% |
| Background | 30-40% |
Camera Settings and Equipment
Essential camera configurations optimize image quality for magazine reproduction:
- Camera body: Full-frame sensor with high resolution (45+ megapixels)
- Lens selection: 85mm or 100mm prime lens for minimal distortion
- Aperture: f/8 to f/11 for optimal sharpness depth of field
- ISO: 100-200 for minimal noise
- Shutter speed: 1/125 or faster with studio strobes
- File format: RAW + JPEG for maximum editing flexibility
- Professional tripod with sturdy head
- Tethering system for immediate preview
- Color checker for accurate color reproduction
- Light meter for precise exposure measurements
- Backup camera body memory cards
Directing the Photo Shoot
Magazine cover photo direction requires precise coordination between the photographer’s vision and the magazine’s requirements. The success of a cover photo depends on effective communication with the subject and capturing varied options that align with the publication’s style.
Subject Positioning and Poses
Subject positioning for magazine covers follows specific spatial guidelines to accommodate text elements. Position the model in the middle third of the frame, leaving adequate space above for the masthead. Direct subjects to:
- Keep shoulders squared to create a strong vertical line
- Maintain eye contact with the camera for direct engagement
- Create dynamic angles with arms at 45-degree positions
- Adjust head tilts slightly up or down for varied expressions
- Position hands deliberately to avoid awkward placements
- Shooting both horizontal vertical orientations
- Varying the subject’s distance from camera
- Capturing tight close-ups medium shots
- Alternating between serious playful expressions
- Photographing different wardrobe combinations
- Testing various lighting setups
- Documenting slight pose adjustments
| Shot Type | Purpose | Quantity |
|---|---|---|
| Close-up | Masthead area focus | 15-20 frames |
| Medium | Full cover options | 25-30 frames |
| Wide | Layout flexibility | 10-15 frames |
| Detail | Secondary elements | 8-10 frames |
Post-Production Essentials
Post-production transforms raw magazine cover photos into polished, print-ready images through precise editing techniques. Each step in the editing process shapes the final image to meet professional publishing standards.
Color Correction and Retouching
Professional magazine cover photo editing begins with color correction in Adobe Camera Raw or Lightroom. We adjust white balance to achieve natural skin tones, fine-tune exposure for optimal highlight retention, and enhance contrast to create depth. The process includes:
- Correcting color temperature variations across the subject’s skin
- Balancing shadows and highlights for dimensional impact
- Adjusting saturation levels to maintain natural appearance
- Creating harmony between subject and background colors
- Applying selective color adjustments for brand consistency
Retouching focuses on enhancing the subject while maintaining authenticity:
- Smoothing skin while preserving natural texture
- Removing temporary blemishes or distractions
- Refining makeup and hair details
- Adjusting fabric wrinkles or clothing imperfections
- Creating clean edges for text placement
Preparing Files for Publication
Magazine covers require specific file preparation standards:
- Converting color profile to CMYK for print production
- Setting resolution to 300 DPI minimum
- Creating multiple file formats (TIFF CMYK, PSD, JPG)
- Maintaining layered files for potential adjustments
- Including bleed area (0.125 inches minimum)
File delivery specifications include:
- Primary high-resolution TIFF file
- Backup PSD with preserved editing layers
- Web-optimized JPG preview
- Color-accurate proof for printing reference
- Documentation of color values and editing notes
- Verification of color accuracy across devices
- Confirmation of text placement zones
- Assessment of overall image sharpness
- Validation of file size and format requirements
- Testing of layer compatibility with design software
Conclusion
Creating a stunning magazine cover photo requires careful planning technical expertise and artistic vision. We’ve explored how the right combination of lighting composition and coordination with your creative team can transform a good photo into an exceptional cover image.
Remember that successful magazine cover photography isn’t just about capturing a beautiful shot. It’s about understanding spatial requirements managing production elements and delivering images that work seamlessly with text and graphic elements. By following these guidelines and maintaining clear communication throughout the process we can consistently produce cover photos that captivate readers and meet publication standards.
Whether you’re an aspiring photographer or a seasoned professional mastering magazine cover photography opens doors to exciting opportunities in the publishing industry. Take these insights put them into practice and watch your cover photography skills flourish.